wareware-handbook
Engine Tutorial [EN]
Introduction
Hi and thanks for testing riprip’s ‘wareware’ engine!
The engine is still in early development. Save often if you are working on something important! A lot of things are not finished yet, don’t be surprised 🫠 But we are still happy if you have feedback for us!
With the ‘wareware’ engine you can build small interactive worlds. If you have ever used bitsy, you can imagine what this might look like.
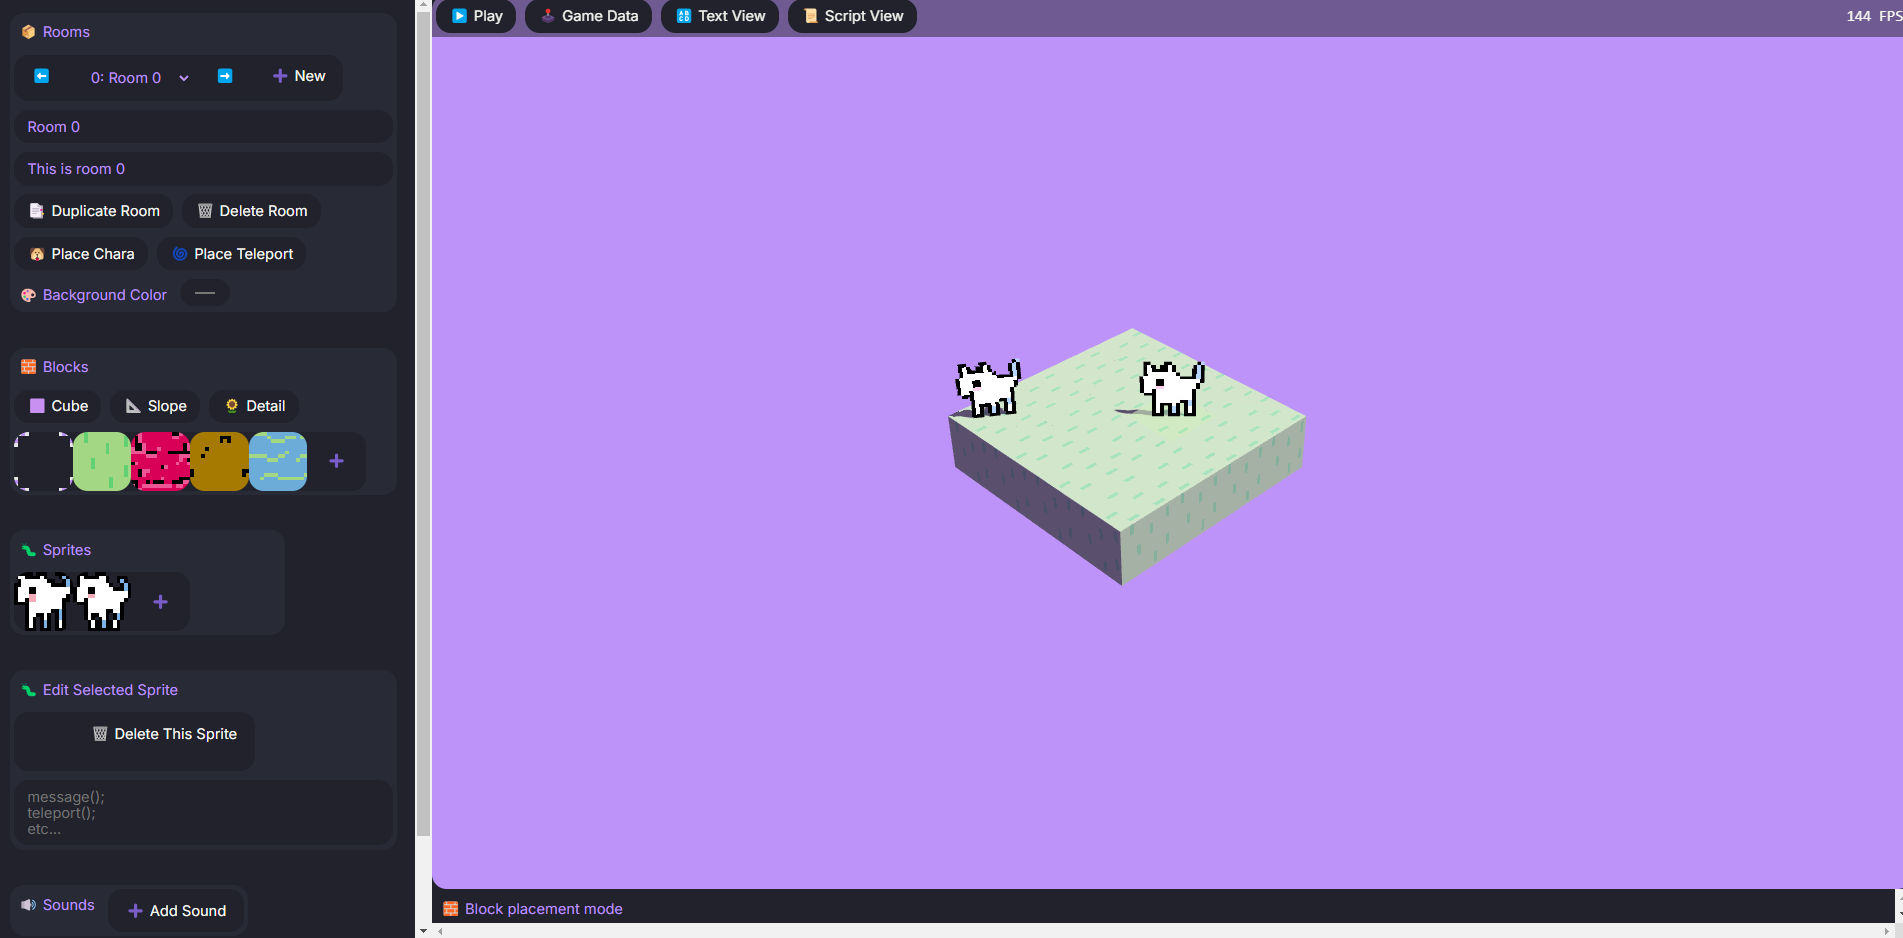
The workspace is divided into 3 parts. In the center you can see the Room Editor, on the left you can find your Tools to build your worlds, the panels on the right help you edit your world.
Let’s go through everything in order, starting with Rooms on the top.
Rooms
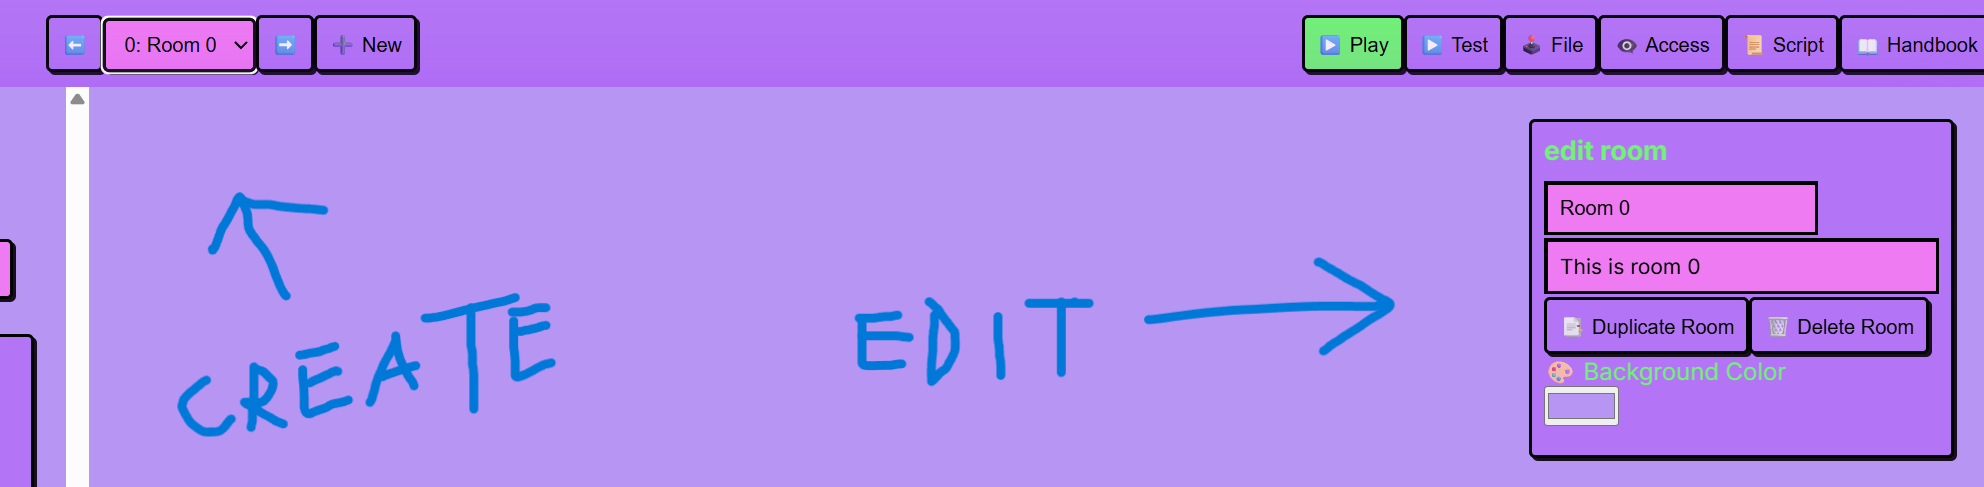
We call the individual levels or sections of a game Rooms. But they don’t necessarily have to be literally rooms, they can also be a beach, a forest or the deck of a ship - whatever suits you!
You can switch between rooms and add rooms in the bar on the top. To edit the current room, have a look at the right panel:
- Duplicate Room: Duplicates the current room with all characters, dialogues and properties.
- Delete Room: Deletes the current room (cannot be undone).
- Background Colour: Changes the colour of the background (affects the light temperature, so play around with it a lot!)
Blocks
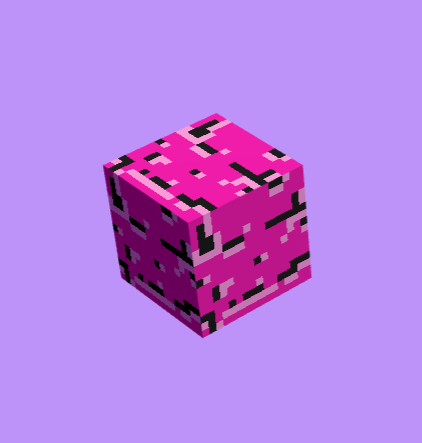
Here you can see your current palette of blocks. You can easily add your own blocks using the +. In our opinion, the blocks look best when they are 16x16 pixels in size, but you can also upload all kinds of other photos or images.
The blocks can also be animated. To do this, the graphic must be twice as wide as it is high. For example, the fire below is 16x32, so it has 2 frames. However, you could also animate 4 frames, in which case the fire would have to be 16x64. The creation of animated blocks is especially easy with the Sprite Sheet feature of Aseprite.

(You can also make the graphic 3x or 4x or 5x etc. the width, then the animation will have 3, 4 or 5 frames respectively)
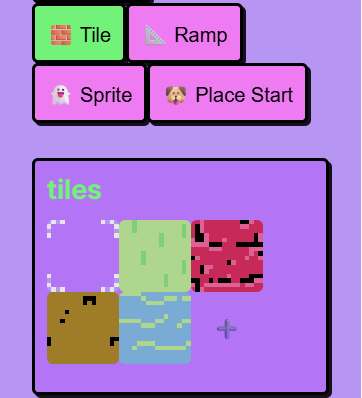
In the top center toolbar you can see 5 options: Cube, Ramp, Select, Sprite and Place Start
-
Cube: The graphic is placed in the room as a cube. All 6 sides are given the same texture.
-
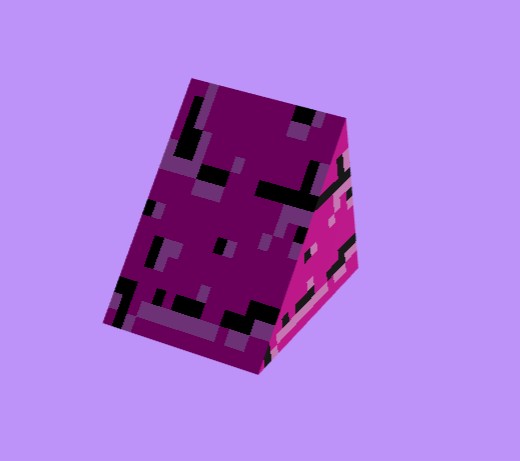
Slope: The graphic is placed as a slope in the room. Use R to rotate the slope.
Sprites
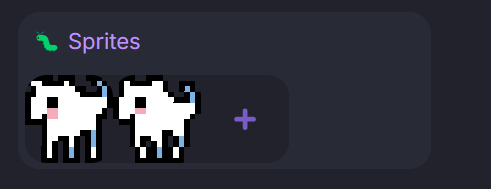
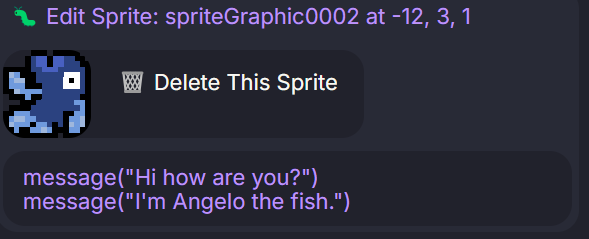
Sprites are the only interactive objects that perform actions when Doggo runs into them. Similar to details, they are flat and always face the camera. Use the + to add new sprites (works in the same way as with blocks). Once you have placed a sprite, the following dialogue opens in the Sprites section:
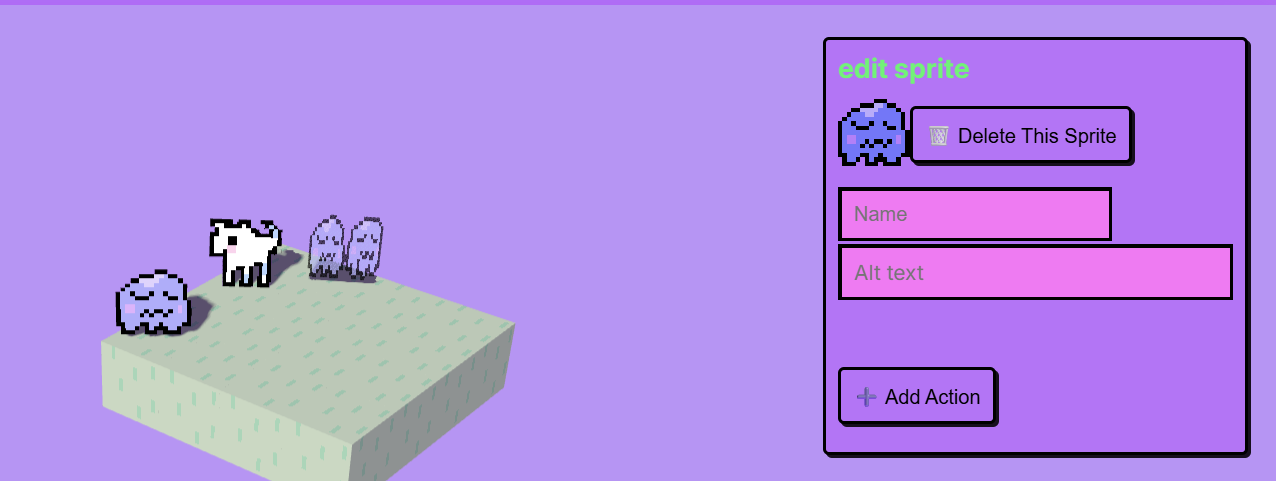
Here you can specify what will happen if Doggo runs into the sprite. So far there are a bunch of options, but some important ones are: message, teleport and sound/music.
-
message: This is how you write dialogue, which appears in a small speech bubble above the sprite. Each ‘message’ introduces a new speech bubble.
-
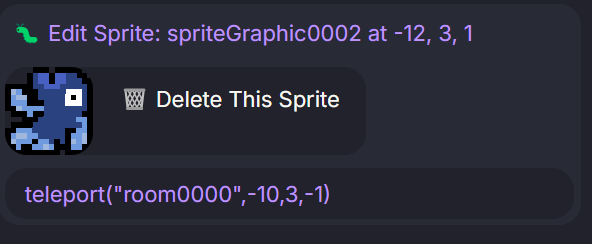
teleport: This is how you can teleport Doggo. Click on ‘Place Teleport’ at the top of the Room category and place them. The command for the teleport is automatically copied to your clipboard and you can paste it into the sprite’s actions.
-
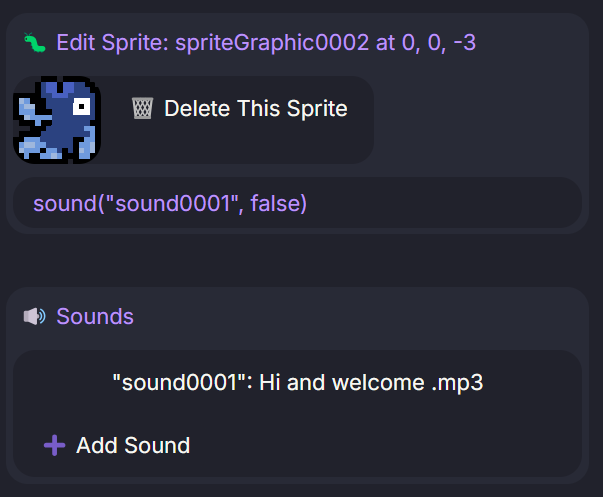
sound, music: When Doggo runs into the sprite, the sound is played. More on this in the Sound and Music section.
Select: Select a sprite to reopen its Editor.
Place Start: Use this to chose the starting point for your game!
Tip: with TAB you can quickly switch between block and sprite mode!
Sound and Music
We differentiate between Sound and Music. Both can be triggered via actions in the Sprite Editor.
- Sound: Is played **only once** per trigger. Several sounds can be played simultaneously.
- Music: Music loops when triggered and continues to play between rooms. Only one music can play at a time.
Room Editor
In the Room Editor, you build your game from blocks and sprites. The controls are similar to those in Infiniminer or Minecraft - you stack blocks on top of each other by using the cursor to target the exposed side of an already placed block.
- Rotate camera: hold down the middle mouse button
- Zoom: scroll with the middle mouse button
- Move camera: Shift + middle mouse button
- Place block: Left-click
- Delete block: Right-click
By holding down the Shift key, you can place blocks freely and independently of the other blocks.
With Shift + Q or E you can move the block up and down.
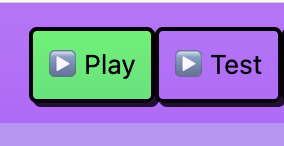
Play
Press the play button at the top left to start your game. Use the arrow keys or hold down the mouse button to move Doggo through your world and interact with sprites.
Game Data
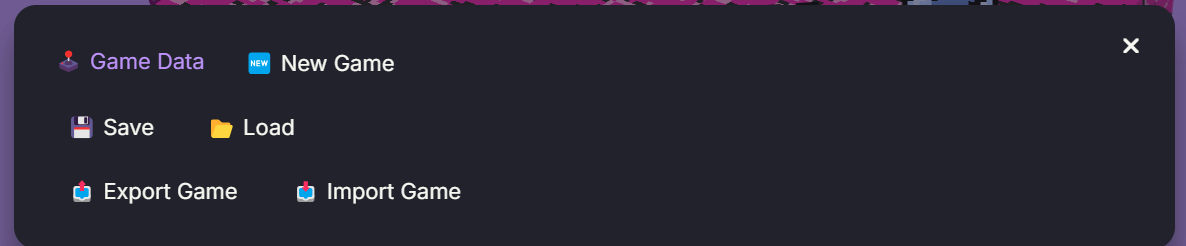
- New Game: Opens a new game.
- Save: Quick-saves the current game in the browser storage.
- Load: Loads the last quick-save.
- Export Game: Downloads all game files as a RIP file.
- Import Game: Opens a RIP file.
- Build Game: Create a finished HTML export of your game that you can upload to itch.io!